Hello Folks,
Welcome to this blog! Today, we’ll walk you through how to install the JDK (Java Development Kit) on a Windows system.
At first glance, it might seem as simple as downloading the .exe file and running the installer—and while that’s an important step, the real challenge often comes after installation. Many developers overlook a critical part: configuring the environment variables.
Without setting up the environment variables correctly, the JDK won’t function as expected. This often leads to confusion and misplaced blame on the system’s hardware. However, this is not a hardware issue—it’s an operating system-level configuration problem.
It’s essential to let your OS know that the JDK has been installed by setting the correct path in the system environment variables. This ensures that Java commands work seamlessly from the command line.
Below, I’ve outlined the steps to install the JDK and configure the environment path.
Step 1:- Download the latest version of the JDK, or choose a version of exe file that suits your needs, from the official Oracle website: https://www.oracle.com/java/technologies/downloads/. Please refer the screenshots below.

Step 2:– Simply open the downloaded file to launch the JDK setup wizard. Then, follow the prompts by clicking ‘Next’ through the installation steps, and finally click ‘Finish’ to complete the process.
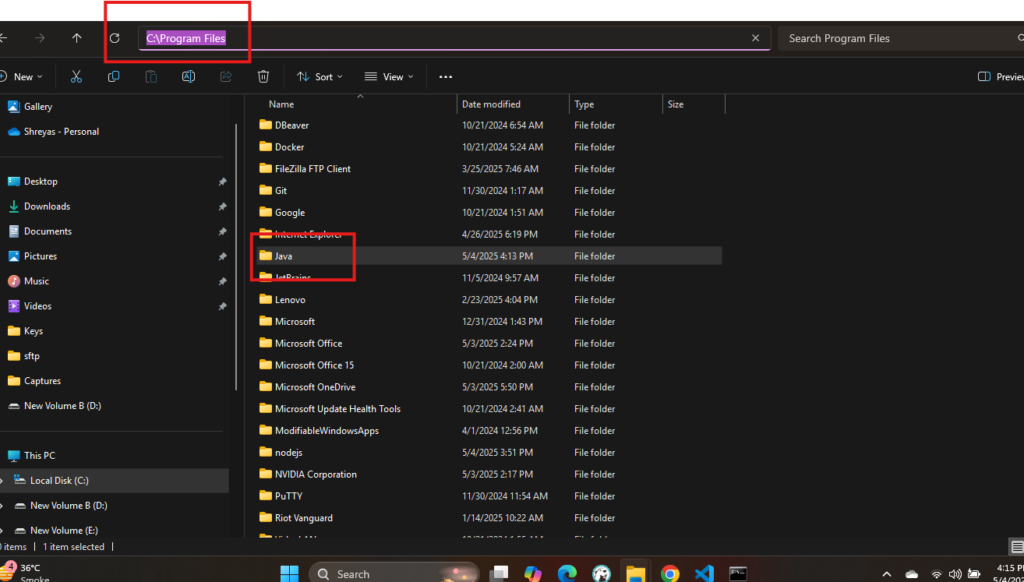
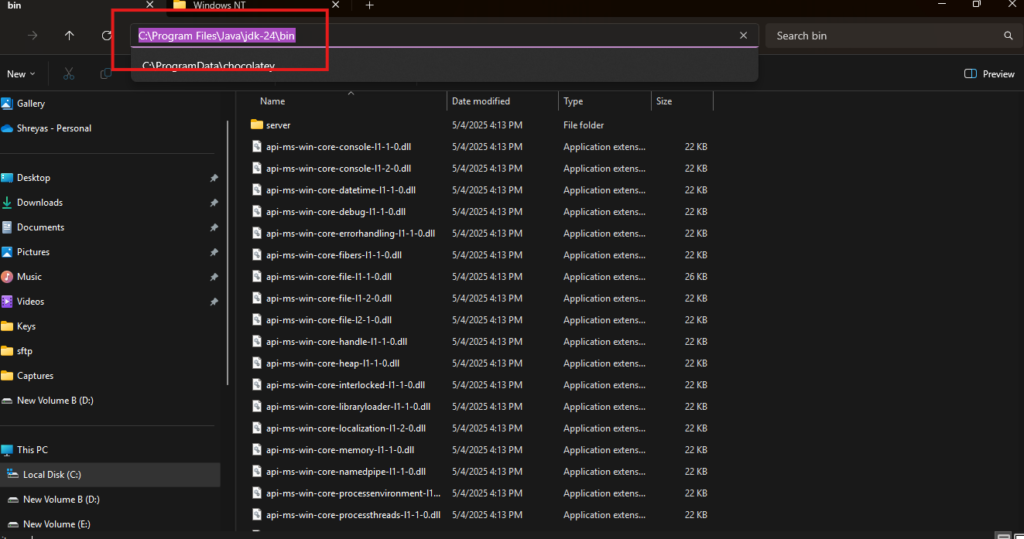
Step 3:- Next, navigate to C:\Program Files\Java, open the jdk-{installed verison}folder, then go to the bin directory. Copy the full path from the address bar, as shown in the screenshot below. In my case C:\Program Files\Java\jdk-24\bin
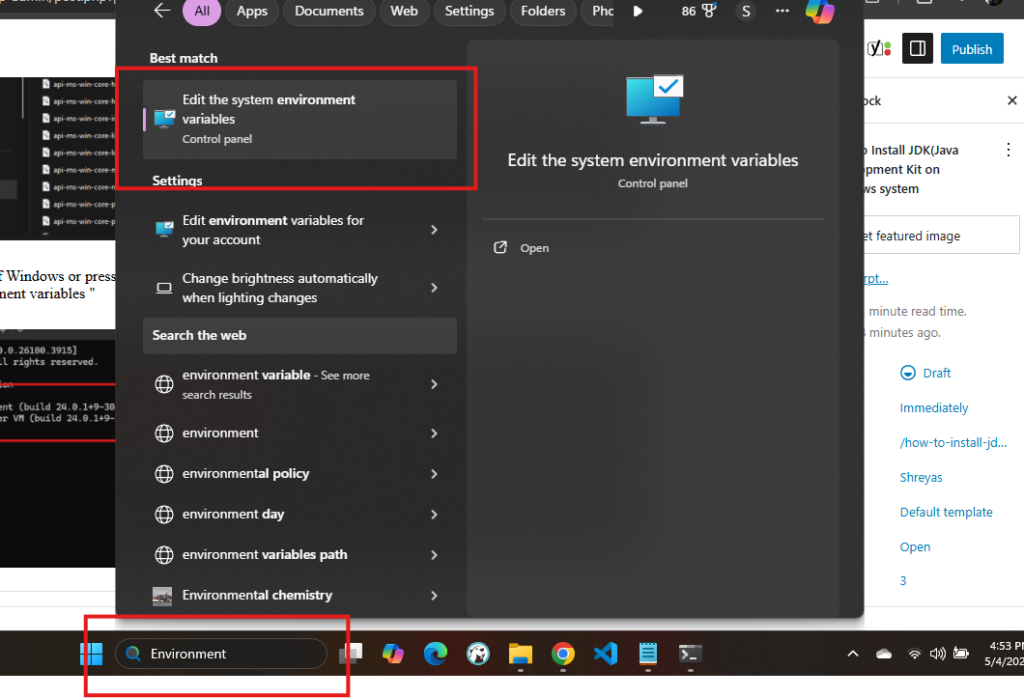
Step 4:- Click the Windows Start button or press the Windows key, then search for “Environment”. From the search results, select ‘Edit the system environment variables’. This will open the System Properties window. At the bottom, click the ‘Environment Variables…’ button.
In the Environment Variables window, under the ‘System variables’ section, find and select the ‘Path’ variable, then click ‘Edit’. In the Edit Environment Variable window, click ‘New’ and paste the JDK path you copied in Step 3 (e.g., C:\Program Files\Java\jdk-24\bin). after adding path click on Ok untill panel close
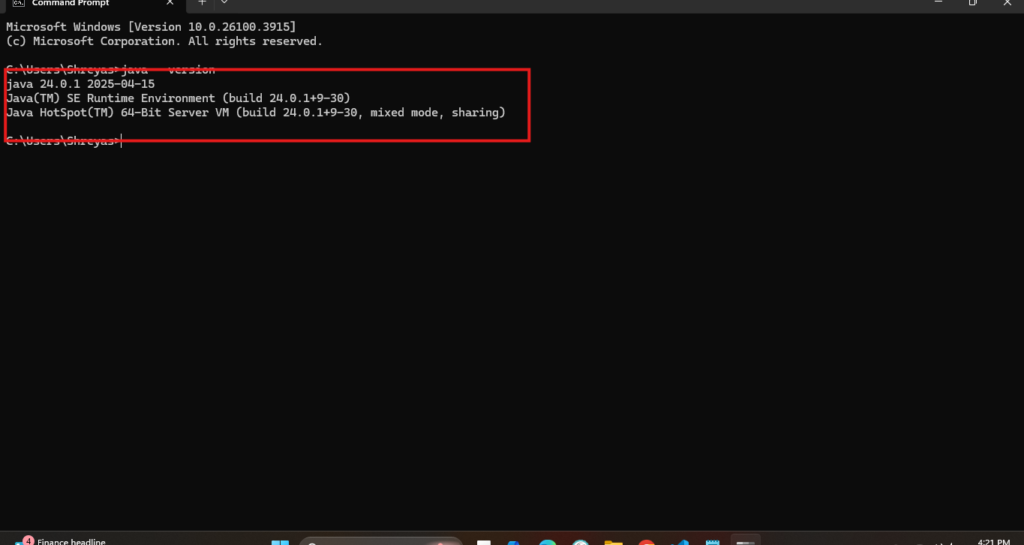
Step 5:- JDK Installation Verification
If you’ve successfully completed Step 5, the JDK has been installed and configured correctly.
To verify:
- Open the Command Prompt (
cmd). - Type the following command and press Enter:
java --versionIf the Java version details are displayed, the installation was successful.
If you do not see the version details or encounter an error, the installation was not completed properly.
Thanks
Happy Coding !