Integrating Google reCAPTCHA V3 Invisible into Custom Forms in Adobe Commerce
Google reCAPTCHA v3 Invisible can be added to custom forms in Adobe Commerce to prevent spam without user interaction. It works by analyzing user behavior to assign a risk score, deciding if further verification is needed. This ensures security while maintaining a seamless user experience.
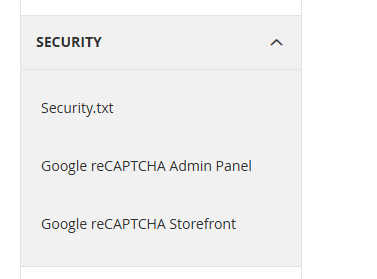
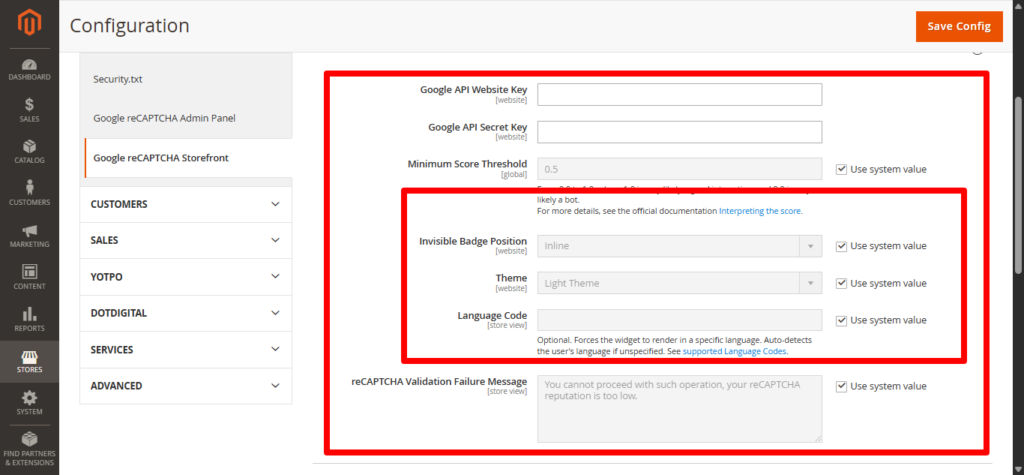
To add Google reCAPTCHA V3 Invisible to a custom form in Adobe Commerce, we will utilize Magento’s default integration method. First, navigate to Stores → Configuration → Google reCAPTCHA on Storefront, where you’ll find the settings for configuring Google reCAPTCHA.
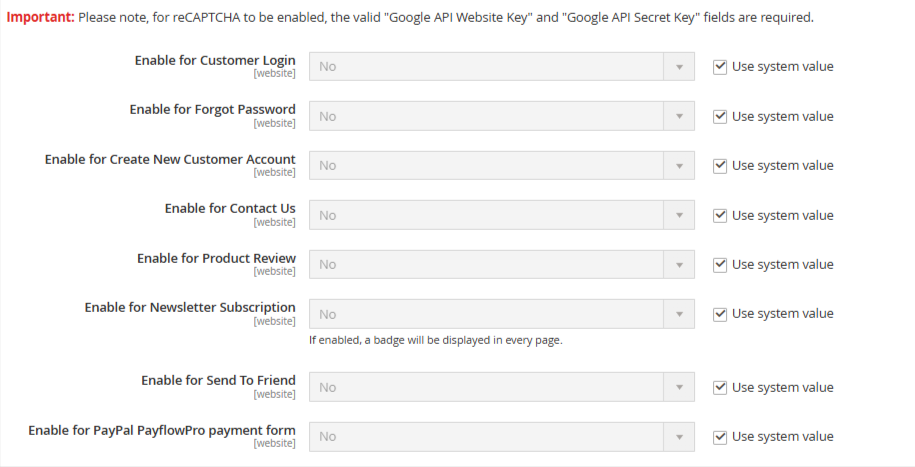
Under the Google reCAPTCHA on Storefront tab, you’ll notice that only Magento’s default forms are listed, not custom forms. This means the standard Magento method will not work for custom forms out of the box.
To make Google reCAPTCHA V3 Invisible compatible with your custom form, I’ve outlined the necessary steps and methods to integrate Magento’s Google reCAPTCHA V3 Invisible feature with a custom form.
Before we begin, I assume that you have already created a custom module with routing and a form. Therefore, instead of creating a module from scratch, I’ll walk you through the integration process directly.
Step 1:- Create a system.xml File to Add Configuration Options for Enabling or Disabling reCAPTCHA on Custom Forms
Vendor/Module/etc/system.xml<?xml version="1.0"?>
<br>
<config xmlns:xsi="http://www.w3.org/2001/XMLSchema-instance"
xsi:noNamespaceSchemaLocation="urn:magento:module:Magento_Config:etc/system_file.xsd">
<br>
<system>
<br>
<tab id="vendor" translate="label" sortOrder="999">
<br>
<label>
<br> Vendor
<br>
</label>
<br>
</tab>
<br>
<section id="recaptcha_frontend">
<br>
<group id="type_for">
<br>
<field id="custom_form" translate="label" type="select" sortOrder="140"
showInDefault="1" showInWebsite="1" showInStore="0" canRestore="1">
<br>
<label>
<br> Enable for Custom Form
<br>
</label>
<br>
<source_model>
<br> Magento\ReCaptchaAdminUi\Model\OptionSource\Type
<br>
</source_model>
<br>
</field>
<br>
</group>
<br>
</section>
<br>
</system>
<br>
</config>
<br>
Step 2:- Create a config.xml File to Set Default Configuration Values for Enabling or Disabling Google reCAPTCHA on Your Custom Form
Vendor/Module/etc/config.xml<?xml version="1.0"?>
<config xmlns:xsi="http://www.w3.org/2001/XMLSchema-instance" xsi:noNamespaceSchemaLocation="urn:magento:module:Magento_Store:etc/config.xsd">
<default>
<recaptcha_frontend>
<type_for>
<custom_form />
</type_for>
</recaptcha_frontend>
</default>
</config>
Step 3:- Add the Magento Google reCAPTCHA Block/Container as a Child Block in Your Form Layout XML, and Include the JS Component in the Head Section as Shown in the Code Below like in the code i have pass Magento captcha in container name form_additional_info and in the end passed JS component in head
Vendor/Module/view/frontend/layout/index_index_index.xml<?xml version="1.0" encoding="UTF-8"?>
<page xmlns:xsi="http://www.w3.org/2001/XMLSchema-instance" xsi:noNamespaceSchemaLocation="urn:magento:framework:View/Layout/etc/page_configuration.xsd">
<body>
<referenceContainer name="content">
<block class="vendor\Module\Block\Index\Index" name="customer-saved-cards-adyen" template="index/index.phtml">
<container name="form_additional_info" label="Form Additional Info">
<block class="Magento\ReCaptchaUi\Block\ReCaptcha" name="recaptcha" after="-" template="Magento_ReCaptchaFrontendUi::recaptcha.phtml" ifconfig="recaptcha_frontend/type_for/custom_form">
<arguments>
<argument name="recaptcha_for" xsi:type="string">
custom_form
</argument>
<argument name="jsLayout" xsi:type="array">
<item name="components" xsi:type="array">
<item name="recaptcha" xsi:type="array">
<item name="component" xsi:type="string">
Magento_ReCaptchaFrontendUi/js/reCaptcha
</item>
</item>
</item>
</argument>
</arguments>
</block>
</container>
</block>
</referenceContainer>
<referenceBlock name="head.components">
<block class="Magento\Framework\View\Element\Js\Components" name="captcha_page_head_components" template="Magento_Captcha::js/components.phtml" />
</referenceBlock>
</body>
</page>
Step 4:– In the PHTML file, within the <fieldset> of <form> tag, use the getChildHtml() method to call your "form_additional_info” block
Note: If the reCAPTCHA is not visible, try wrapping the form fields inside the <fieldset> tag.
Vendor/Module/view/frontend/templates/index/index.phtml<form id="custom-form"
ction="#" method="post" data-mage-init='{"validation":{}}'>
<div id="form-container">
<h3 class="address-title"><?= $block->escapeHtml(__('City details')) ?></h3>
<fieldset class="fieldset info focused-label">
<div class="field city required">
<label for="city" class="label"><span><?= $block->escapeHtml(__('City')) ?></span></label>
<div class="control">
<input type="text" name="city" id="city" class="input-text required-entry" />
</div>
</div>
<fieldset class="fieldset additional_info">
<?= $block->getChildHtml('form_additional_info') ?>
</fieldset>
<button id="save-button" class="storebtn"><?= $block->escapeHtml(__('Save')) ?></button>
</fieldset>
</div>
</form>Step 5:- Create an Observer Entry to Validate reCAPTCHA Before Form Submission. In this case, I am setting up a preDispatch observer for my controller, where the form data is being saved. This allows me to verify the Google reCAPTCHA before the data is saved.
Vendor/Module/etc/frontend/events.xml<?xml version="1.0"?>
<config xmlns:xsi="http://www.w3.org/2001/XMLSchema-instance" xsi:noNamespaceSchemaLocation="urn:magento:framework:Event/etc/events.xsd">
<event name="controller_action_predispatch_vendormodule_index_index">
<observer name="recaptcha_credit_card_form" instance="Vendor\Module\Observer\RecapchaFormObserver" />
</event>
</config>
Step 6:- Implement Logic in the Observer to Validate the reCAPTCHA Only if It’s Enabled for the Custom Form Based on the Configuration Set in Step 1.
Note :- The key must match exactly as ‘custom_form,’ which we defined in the layout XML when setting up the Magento Google reCAPTCHA block in Step 3. If the key is mismatched, the reCAPTCHA or form may not function correctly.
Vendor/Module/Observer/RecapchaFormObserver.php<?php
declare(strict_types=1);
namespace Vendor\Module\Observer;
use Magento\Framework\App\Action\Action;
use Magento\Framework\Event\Observer;
use Magento\Framework\Event\ObserverInterface;
use Magento\Framework\Exception\LocalizedException;
use Magento\Framework\UrlInterface;
use Magento\ReCaptchaUi\Model\IsCaptchaEnabledInterface;
use Magento\ReCaptchaUi\Model\RequestHandlerInterface;
use Magento\Framework\App\Response\RedirectInterface;
use Magento\Framework\App\RequestInterface;
use Magento\Framework\App\ResponseInterface;
class RecapchaFormObserver implements ObserverInterface
{
protected $redirect;
private $url;
private $isCaptchaEnabled;
private $requestHandler;
protected $response;
/**
* @var RequestInterface
*/
protected $request;
public function __construct(
UrlInterface $url,
IsCaptchaEnabledInterface $isCaptchaEnabled,
RequestHandlerInterface $requestHandler,
RedirectInterface $redirect,
RequestInterface $request,
ResponseInterface $response
) {
$this->url = $url;
$this->isCaptchaEnabled = $isCaptchaEnabled;
$this->requestHandler = $requestHandler;
$this->redirect = $redirect;
$this->request = $request;
$this->response = $response;
}
public function execute(Observer $observer): void
{
$key = 'custom_form';
if ($this->isCaptchaEnabled->isCaptchaEnabledFor($key)) {
$redirectOnFailureUrl = $this->redirect->getRedirectUrl();
$this->requestHandler->execute($key, $this->request, $this->response, $redirectOnFailureUrl);
}
}
}Step 7:- After flushing the cache, check the frontend, and you should see the Google reCAPTCHA on your custom form. The reCAPTCHA settings and alignment can be managed through the Magento admin configuration, where you can choose options like inline, left-bottom, or right-bottom placement. Since we’ve made the integration compatible with Magento, the reCAPTCHA will function according to Magento’s built-in settings and layout options.
You can use Google Recaptcha V2 Invisible and Google Recaptcha V2 (I am not a Robot) using same code.
If you encounter any issues, feel free to leave a comment below — we’re here to assist you!
Happy Coding !